Rice balls with seaweed are one of the easiest Japanese snacks to make at home, and the reason they work so well is simple: the rice is comforting, the nori adds salt and aroma, and the finished package travels beautifully in a lunchbox. This article covers what they are, which rice and seaweed to choose, how to shape them cleanly, and how to keep the texture right if you are packing them for later. I also look at the small decisions that separate a neat bento staple from a sticky, collapsing handful of rice.
The practical essentials for making them well
- Use Japanese short-grain rice, or another short-grain rice with enough stickiness to hold shape.
- Salt the outside lightly and keep fillings dry enough that they do not leak.
- Shape the rice while it is warm, not piping hot and not fully cold.
- Wrap the nori at the right moment so it stays crisp or soft, depending on how you want to eat it.
- For lunchboxes, simpler fillings usually travel better than wet sauces or very creamy mixtures.
What these rice balls are and where they fit in Japanese meals
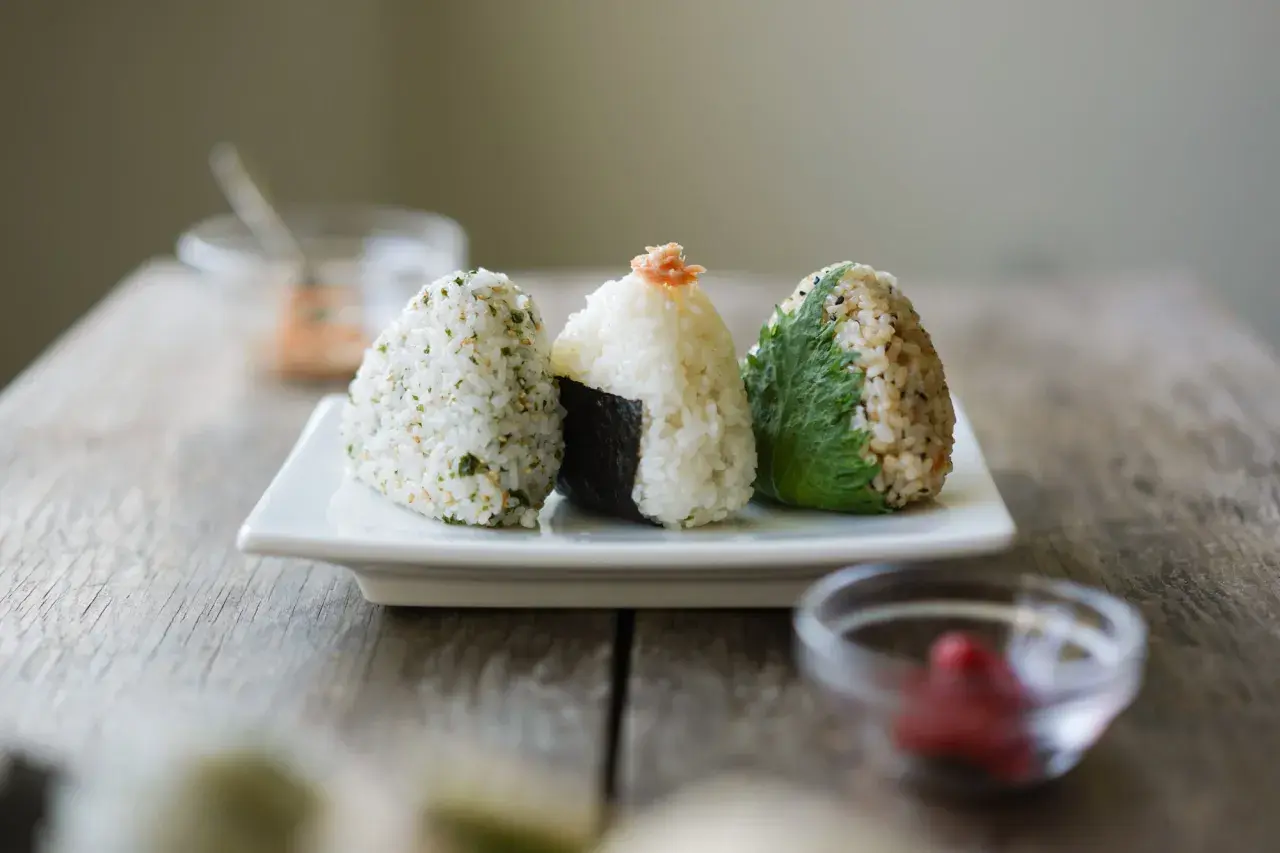
In Japanese home cooking, onigiri is the hand-held cousin of a rice bowl: donburi is served in a bowl with toppings, while onigiri is shaped, seasoned, and packed to be eaten by hand. That difference sounds small, but it changes everything about texture and seasoning. Donburi wants sauce and a spoon; onigiri wants structure, balance, and just enough salt to make the rice taste complete on its own.
That is why the seaweed matters. Nori gives the rice a savoury edge, but it also helps with handling and portioning, especially when the rice is going into a bento box or picnic bag. I think that is the real appeal: it is simple food, but it rewards precision.
| Dish | How it is served | Best use |
|---|---|---|
| Onigiri | Shaped by hand, often with nori | Portable snack, lunchbox, picnic |
| Donburi | Rice bowl topped with savoury ingredients | Sit-down lunch or dinner |
| Sushi | Seasoned rice paired with fish or vegetables | More formal, more delicate serving styles |
Once you see that distinction, the rest becomes easier: you are not building a bowl meal, you are building a compact rice snack that has to hold together in the hand. That starts with the right ingredients.
The ingredients I would choose first
The ingredient list is short, which is one reason I like this dish. But the short list also means each choice matters. If the rice is wrong, the shape will be wrong; if the nori is too thick or stale, the finished bite loses its clean flavour; if the filling is wet, the whole thing turns soft too fast.
| Ingredient | What I would buy in the UK | Why it matters | Common mistake |
|---|---|---|---|
| Rice | Japanese short-grain rice; many supermarkets label it as sushi rice | It has enough starch to hold shape without turning gummy | Using long-grain rice, which falls apart when you try to form it |
| Nori | Roasted seaweed sheets, ideally fresh and crisp | Brings umami, aroma, and a clean finish | Using old sheets that taste flat or smell stale |
| Salt | Fine sea salt or table salt | Seasoning the outside is part of the flavour, not an optional extra | Skipping salt and expecting the filling to do all the work |
| Filling | Tuna mayo, salmon, pickled plum, seasoned sesame, or furikake | Gives contrast, but should stay relatively dry | Using runny sauces that leak into the rice |
If you want a very practical rule, I would keep the ratio modest: for 4 medium rice balls, start with about 300 g cooked rice, 2 to 3 tablespoons of filling in total, and 1 nori sheet cut into strips or used in partial wraps. You can scale up from there once the texture feels right.
One small detail makes a bigger difference than people expect: the rice should be warm enough to mould, but not so hot that it burns your hands or turns mushy under pressure. That balance is what makes shaping work.
How I shape them without making a mess
For a first batch, I would make 4 medium onigiri. That is enough to learn the method without wasting rice if the shape needs a second attempt. In Japanese kitchens, the light wetting water used for shaping is sometimes called tezu; in practice, plain water and a pinch of salt on the palms is enough for most home cooks.
- Cook the rice until it is tender and slightly sticky, then let it stand for 5 to 10 minutes so the steam evens out.
- Wet your hands lightly and rub a small pinch of salt over your palms and fingertips.
- Scoop about 75 to 90 g of rice for each piece if you want medium size; more if you prefer a larger lunch portion.
- Make a small hollow in the centre, add about 1 to 2 teaspoons of filling, then close the rice around it.
- Press gently 3 or 4 times to form a triangle, ball, or cylinder. The goal is compact, not crushed.
- Set each piece on a plate or tray and cover it loosely while you finish the batch.
I usually tell people to think of the pressure as a firm handshake rather than a squeeze. If the grains start breaking down, you are pressing too hard. If the rice falls apart, you need a little more salt, a little more warmth, or simply a more cohesive rice variety.
Once the shaping feels natural, the next decision is whether you want the nori soft and integrated or crisp and separate.
Which wrapping style fits the meal
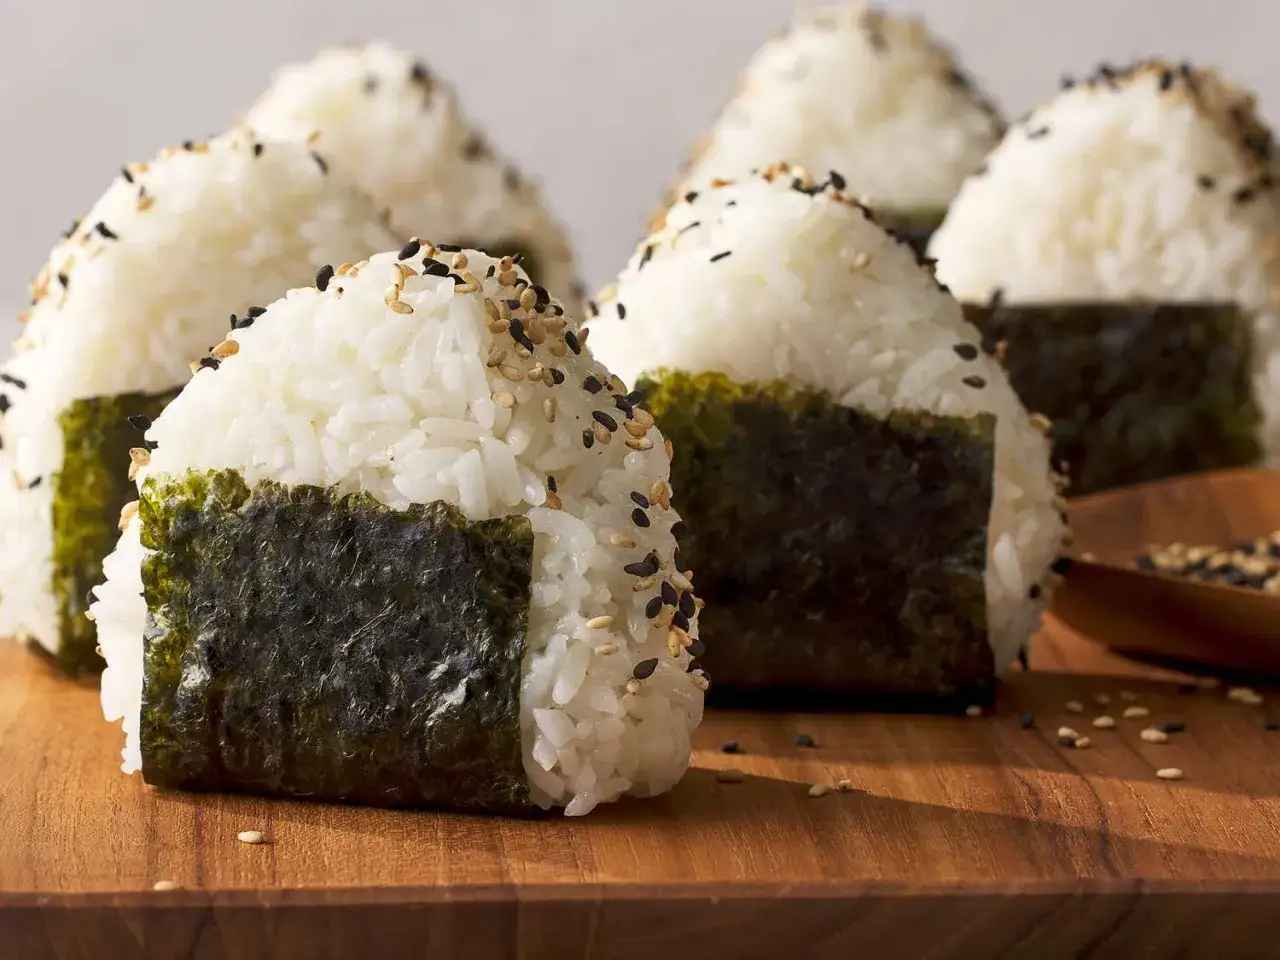
The same rice ball can feel completely different depending on when you add the seaweed. For a bento, I often choose the wrap based on when the rice will be eaten. If the rice balls are for immediate serving, I like more direct contact between rice and nori. If they are for later, I keep the seaweed separate until the last minute.
| Wrapping style | Texture | Best for | My take |
|---|---|---|---|
| Full wrap | Soft, cohesive, slightly chewy | Lunchboxes and snacks eaten soon after making | The most classic feel when you want the nori to become part of the bite |
| Strip wrap | More contrast between rice and seaweed | Casual snacks and neat finger food | Useful if you want cleaner handling and a lighter seaweed presence |
| Separate wrapper | Seaweed stays crisp until eaten | Longer waits before serving | This is the style I prefer when texture control matters most |
As a rule, the longer rice and nori sit together, the softer the seaweed becomes. That is not a mistake; it is just the texture changing over time. The trick is deciding whether that change suits the meal. For a picnic, soft nori is often fine. For a snack that needs a little snap, wrap later.
Fillings that work best in a British kitchen
When I make these at home, I choose fillings that are easy to season, easy to drain, and easy to eat at room temperature. That is where many home cooks go wrong: they think of flavour first and texture second. In onigiri, the two are tied together. A brilliant filling that leaks will ruin the rice around it.
| Filling | Flavour | Why it works | Small caution |
|---|---|---|---|
| Tuna mayo | Rich, savoury, familiar | Easy to make with cupboard ingredients and very reliable in a bento | Drain the tuna well and keep the mayo modest |
| Flaked salmon | Clean, lightly salty | Excellent if you have leftover cooked salmon | Cool it before filling so it does not steam the rice |
| Pickled plum | Sharp, salty, bright | Classic Japanese contrast that cuts through plain rice | Very assertive, so a little goes a long way |
| Sesame and salt | Simple, nutty, restrained | Good when you want the rice to stay the main flavour | Season well; bland rice shows up immediately |
| Furikake or seaweed flakes | Umami, savoury, slightly crunchy | Handy when you want quick flavour with almost no prep | Check the salt level, especially if the topping is already seasoned |
If I were making a bento for someone who has never tried this style of rice snack before, I would usually start with tuna mayo or salmon. Those fillings feel immediately understandable, but they still suit the Japanese format. Once that works, you can move into sharper or more traditional options like pickled plum.
The main thing is restraint. A teaspoon or two of filling is often enough. Overfilling looks generous, but it is what causes tears in the rice and leaks through the nori.
How I serve and store them so they still taste good later
These rice balls are at their best the day they are made, when the rice is still soft and the seaweed has the texture you intended. If I am packing them for later, I think in terms of timing and moisture control. The less steam trapped inside the wrap, the better the seaweed holds up. That is why I avoid packing them while they are still visibly hot.
- Let the rice cool slightly before wrapping, so condensation does not soften the nori too quickly.
- If you want crisp seaweed, keep it separate until serving time.
- If the rice has been chilled, bring it back to a soft, mouldable texture before shaping.
- Choose fillings that stay neat at room temperature rather than sauces that loosen as they sit.
- For a bento, pair them with pickles, omelette, cucumber, or a simple vegetable side rather than another rich dish.
I think this is where many first attempts fall down: the rice itself is fine, but the packing method is wrong for the time gap before eating. If you are going from kitchen to lunchbox to desk, the seaweed should be treated as part of that schedule, not as an afterthought.
The first batch I would make for a simple bento
If I were showing someone the easiest possible version, I would keep it plain and disciplined: 300 g warm Japanese short-grain rice, a light pinch of salt, one restrained filling such as tuna mayo or flaked salmon, and nori added according to when the rice will be eaten. That is enough to learn the texture, the shaping, and the timing without juggling too many variables at once.
- Use warm rice, not cold rice.
- Keep the filling dry enough to stay contained.
- Press firmly but gently.
- Decide early whether you want soft or crisp nori.
Once those four points are right, the rest becomes a matter of preference: triangle or ball, full wrap or strip, salmon or tuna, plain or seasoned. That is what makes this dish so useful in Japanese home cooking. It looks modest, but it teaches you a lot about rice, balance, and timing in just a few bites.