The rice should be sticky enough to hold, but still taste like separate grains
- Use Japanese short-grain rice sold as sushi rice, Koshihikari, or a similar Japonica variety.
- Wash and soak the rice before cooking; that step makes a bigger difference than most people expect.
- A reliable starting point is a rice-to-water ratio of 1:1.1 to 1:1.2 by volume.
- Season your hands, shape gently, and stop pressing once the rice holds together.
- Keep sushi vinegar for sushi; onigiri usually relies on plain rice, salt, and a well-chosen filling.
What cooks usually mean by sushi rice for onigiri
In English, “sushi rice” is often used as shorthand for the grain rather than the finished seasoning. I treat it as short-grain Japanese rice: plump, glossy, and naturally cohesive once cooked. That is exactly what onigiri needs, because a rice ball has to stay together in your hand, in a lunch box, and after a few bites.
The seasoning is a separate decision. Sushi rice is normally dressed with vinegar, sugar, and salt after cooking. Onigiri is usually made from plain rice, then lightly salted on the outside or paired with a salty filling inside. If you season the rice heavily with vinegar first, you move the result toward sushi rather than a classic rice ball.
That distinction is not cosmetic. Vinegar changes the flavour profile and slightly firms the rice, while plain short-grain rice lets the grain itself stay central. For onigiri, I want the rice to taste clean, warm, and modest, with the filling doing the talking. Once that is clear, the next step is cooking it in a way that gives the right texture.
How to cook the rice so the balls hold together
The texture of good onigiri starts before the pot goes on the heat. I rinse short-grain rice until the water turns from milky to only faintly cloudy, then I soak it for 20 to 30 minutes so the grains cook evenly. That soaking period is one of the most common skips I see, and it is usually the reason homemade onigiri feel patchy or dry.For Japanese short-grain rice, I start with a rice-to-water ratio of 1:1.1 to 1:1.2 by volume. In practical terms, that means a little more water than rice, but not enough to make the pot soupy. A rice cooker makes the job easy, but a heavy saucepan with a tight lid works well too if you keep the heat gentle and leave the lid alone while the rice steams.
| Rice measure | Water | Soak time | What it gives you |
|---|---|---|---|
| 180 ml | 200-220 ml | 20-30 minutes | About 3 medium onigiri |
| 360 ml | 400-430 ml | 20-30 minutes | About 6 medium onigiri |
| 540 ml | 600-650 ml | 20-30 minutes | About 8-10 medium onigiri |
Once the rice is cooked, let it rest covered for about 10 minutes before fluffing it lightly. I use a rice paddle rather than a spoon, because the goal is to lift the grains, not smash them. Onigiri works best when the rice is still slightly warm, cohesive, and soft enough to mould without turning gluey. That makes shaping much easier, which is where the process becomes tactile rather than technical.
Shaping onigiri without crushing the grains
Shaping is where most home cooks either under-press or over-press. I want enough pressure for the rice to hold its form, but not so much that it turns dense. A good onigiri should feel compact and neat, yet still have visible grains once you break it open.
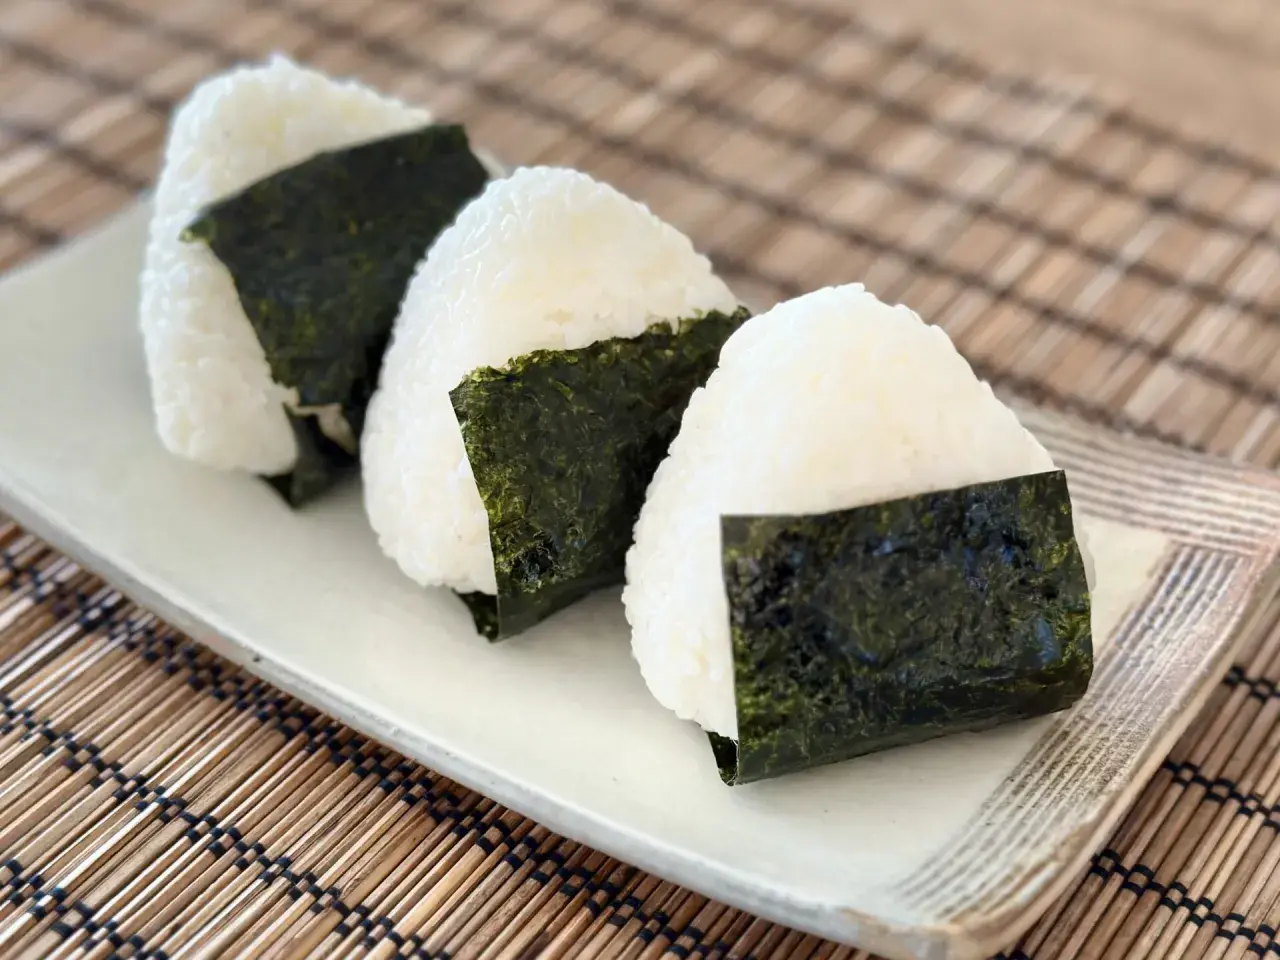
My simplest method is this: keep a small bowl of water nearby, salt your palms lightly, and work with a handful of warm rice at a time. If you are adding filling, place only a modest amount in the centre, then close the rice around it and form the shape with gentle rotation. Triangle, round, and log shapes all work; triangles are the most recognisable, but round ones are often easier for beginners.
- Wet your hands so the rice does not cling too aggressively.
- Rub on a pinch of salt to season the outside.
- Place about 100-120 g of warm rice in your palm.
- Add a small filling, or leave it plain.
- Press and rotate gently until the shape is stable.
If the rice is too hot to handle, wait a minute or two; if it is too cold, it becomes less cooperative and starts cracking at the edges. I also like plastic wrap when I’m making several pieces at once, because it reduces mess and helps children or beginners get a tidy shape more quickly. Once the rice is formed properly, the filling becomes the next decision, and that is where flavour balance matters most.
Fillings and seasonings that make sense in a home kitchen
Onigiri fillings should usually be salty, savoury, or lightly acidic, because the rice itself is mild. The classic choices are salted salmon, umeboshi, kombu tsukudani, and bonito flakes with soy sauce. I also make room for tuna mayo when I want something familiar, but I treat it as a modern variation rather than the template for every rice ball.
The main rule is restraint. A teaspoon to a tablespoon of filling is usually enough, depending on the size of the onigiri. Too much filling creates weak seams, and wet fillings can make the rice slide apart. If I use something creamy, like tuna mayo, I keep the mixture fairly firm and make the rice ball slightly larger so it does not split when handled.- Salted salmon gives the cleanest, most balanced flavour if you already love plain rice.
- Umeboshi adds sharp acidity and salt, which cuts through the rice beautifully.
- Kombu tsukudani is deeply savoury and travels well in a lunch box.
- Tuna mayo is popular for a reason, but it is best when eaten the same day.
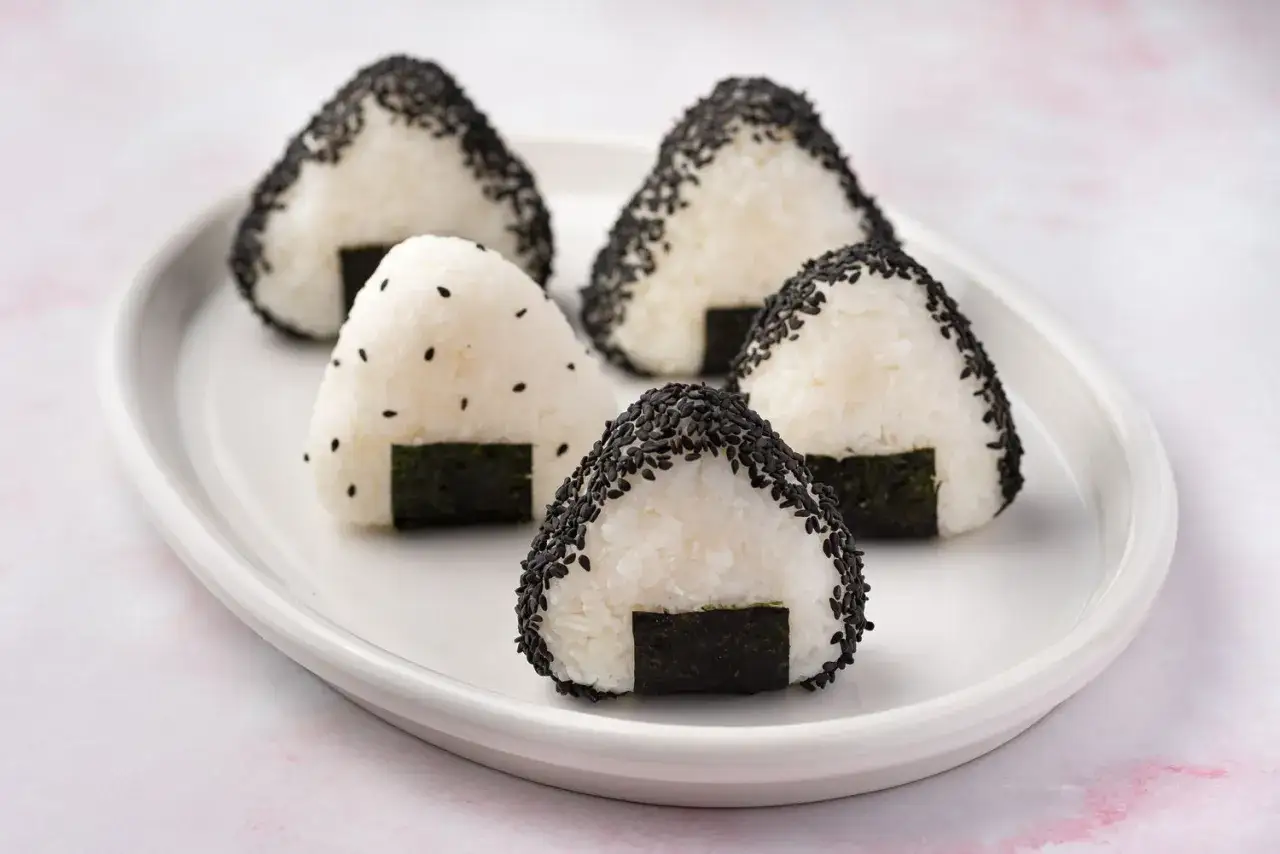
- Sesame seeds, furikake, or nori work well as surface flavours when you want something lighter.
For a bento-style lunch, I would favour salty or relatively dry fillings, because they hold up better than soft, wet mixtures. That becomes even more important when you think about storage and transport, which is where many otherwise good onigiri lose their texture.
When another rice is a better choice
Not every rice behaves the way onigiri needs. If you only have long-grain rice, the grains stay too separate and the shape tends to crumble. That does not mean the rice is bad; it just means it is better suited to a different dish. For onigiri, the key quality is cohesion without mushiness.
| Rice type | How it behaves | My view for onigiri |
|---|---|---|
| Japanese short-grain / sushi rice | Glossy, tender, and naturally sticky | Best choice |
| Calrose or similar medium-grain rice | Soft and cohesive when cooked well | Good fallback |
| Short-grain brown rice | Firmer and nuttier, with less gloss | Works well if you want a heartier version |
| Jasmine or basmati | Fluffy, separated grains | Poor choice for shaping |
| Glutinous or sticky rice | Very chewy and dense | Too heavy for classic onigiri |
In the UK, I would look first for labels such as Japanese short-grain rice, sushi rice, or Koshihikari. If Calrose is what you can get, it is still workable, especially for casual home cooking. What I would avoid is treating any white rice as interchangeable, because onigiri depends on the grain structure more than many other rice dishes do. That is also why its logic is closer to donburi than to a side rice: the rice is not background, it is the foundation.
How to pack and store them without ruining the texture
Onigiri is best eaten fresh or on the same day, ideally at room temperature. If you refrigerate it, the rice tends to dry out and tighten, which is why chilled rice balls often taste less generous than they should. That said, if you make them ahead, wrapping each piece tightly in cling film and keeping them sealed helps preserve moisture far better than leaving them exposed in the fridge.
Nori is another detail that affects the final experience. If you want crisp seaweed, wrap it separately and add it just before eating. If you prefer the nori to soften slightly and perfume the rice, wrap it earlier. Neither approach is wrong; it depends on whether you want contrast or integration. I tend to choose crisp nori for a lunch box and softer nori for an at-home snack.- Eat them the same day when possible for the best texture.
- Keep creamy or fish-based fillings chilled if they are not being eaten immediately.
- Wrap individual pieces tightly so the rice does not dry out.
- Add nori at the last moment if you want it crisp.
Once you learn how quickly the rice changes after cooking, you start making onigiri with a bit more intention. That final timing piece is what turns a simple rice snack into something that feels carefully made.
The simplest routine I would use every time
If I were making onigiri in a UK kitchen tonight, I would keep the process deliberately plain: short-grain rice, a proper rinse, a short soak, a gentle cook, and light pressure when shaping. I would season the hands rather than the pot, keep the filling modest, and stop as soon as the rice holds together. That routine gives you the texture people want from good onigiri without forcing the rice into something it is not.
The practical advantage is that this method is repeatable. Once you learn the feel of the rice, you can make a quick lunch, a bentō component, or a picnic snack without measuring every move again. And because the same rice can also anchor a good donburi bowl, it becomes a useful part of your wider Japanese home-cooking routine rather than a one-off recipe.
When the grains are right, the rest is simple: shape gently, keep the seasoning balanced, and let the rice stay the main event.