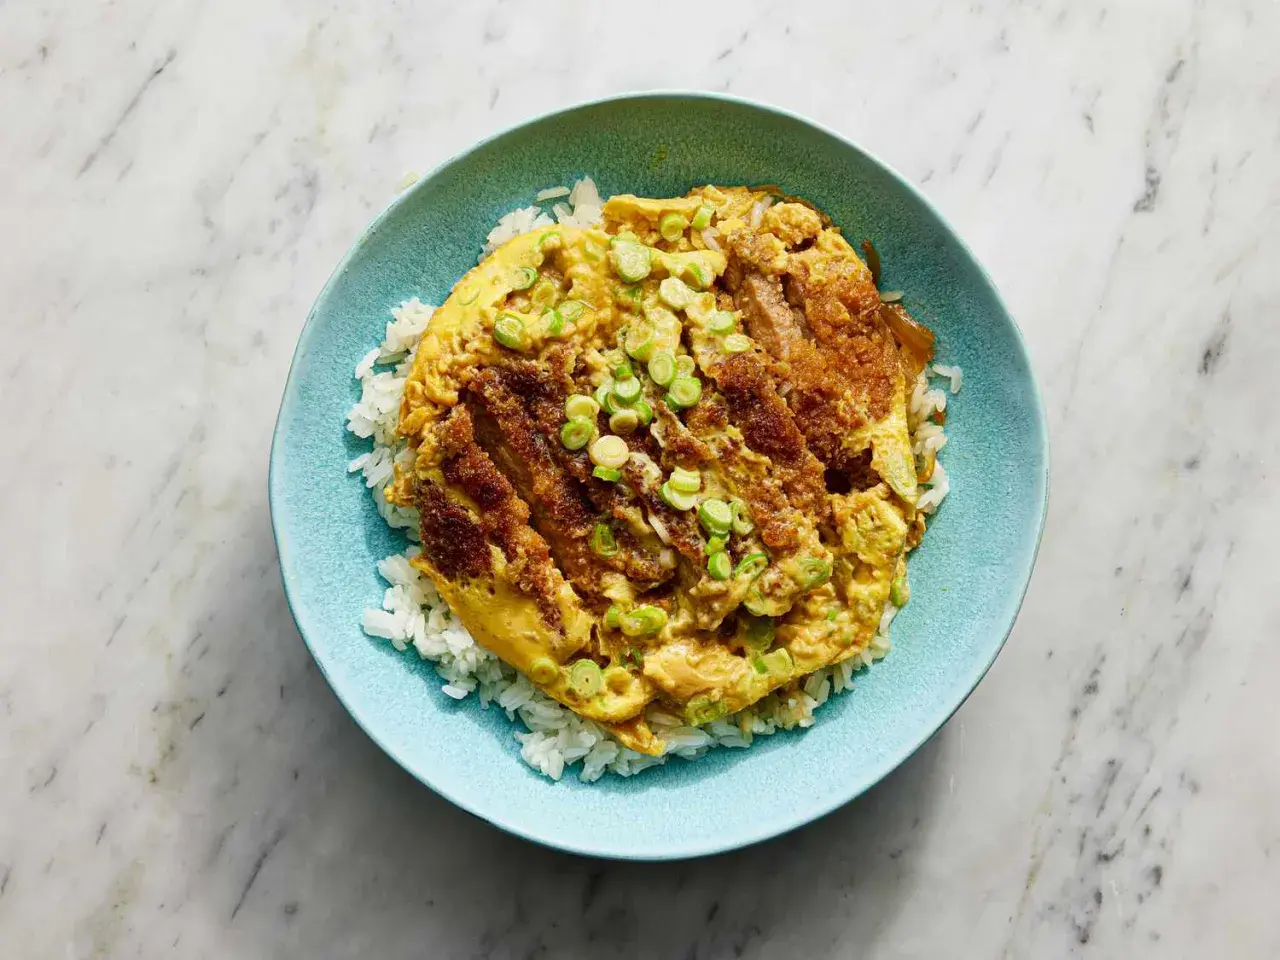
The bowl comes down to hot rice, crisp cutlet, and a soft egg finish
- Make 2 generous servings with 200 g uncooked Japanese short-grain rice and 2 pork cutlets.
- Keep the broth shallow and well seasoned with dashi, soy sauce, mirin, sake, and a little sugar.
- Add the egg in two stages and stop while the centre still looks glossy.
- Slice the katsu before it goes back into the pan so the flavours soak in evenly.
- Serve immediately; this is a bowl that loses its best texture if it sits.
- Chicken is the easiest swap if you want a lighter version.
What a proper katsudon tastes like
When I make katsudon, I am not chasing crunch. I am chasing contrast. The cutlet brings salt, fat, and texture; the onion broth brings sweetness and depth; the egg ties everything together; the rice keeps the bowl from becoming one-note. That balance is the whole point of the dish.
This is also why katsudon is not the same thing as tonkatsu or katsu curry. Tonkatsu keeps the crust crisp and serves sauce on the side. Katsu curry leans into a thick, spoonable sauce. Katsudon sits in the middle: warm, soft, slightly brothy, and deeply comforting.
| Dish | What defines it | Texture goal | Best when you want |
|---|---|---|---|
| Katsudon | Cutlet simmered with onion and egg over rice | Soft, savoury, gently set | A complete one-bowl meal |
| Tonkatsu | Breaded cutlet served with sauce | Crunchy and dry on the outside | Maximum crispness |
| Katsu curry | Cutlet served with Japanese curry | Rich and sauce-heavy | A fuller, heavier dinner |
Once you understand that texture goal, the ingredient list makes a lot more sense, because every part is there to support that soft, layered finish.
The ingredients that carry the dish
I like to keep the list short and deliberate. Katsudon rewards good seasoning more than it rewards a long list of extras.
| Ingredient | Amount for 2 | Why it matters | Useful note |
|---|---|---|---|
| Japanese short-grain rice | 200 g uncooked | It gives the bowl the right cling and softness | Sushi rice is the easiest swap in the UK |
| Pork loin cutlets | 2 cutlets, 150-180 g each | The classic protein for katsudon | Chicken thigh works well if you prefer poultry |
| Fine salt and black pepper | About 1/2 tsp each | Season the meat before breading | Do not rely on the broth alone |
| Plain flour | 2 tbsp | Helps the egg and panko cling | Use rice flour if you need gluten-free coating |
| Egg for breading | 1, beaten | Forms the middle layer of the crust | Beat just enough to combine |
| Panko breadcrumbs | 60-70 g | Creates the light, airy crust | Regular breadcrumbs work, but the texture is denser |
| Neutral oil | Enough for shallow frying, about 300-400 ml | Gives the cutlet its golden crust | Sunflower or rapeseed oil is fine |
| Onion | 1 small, thinly sliced | Brings sweetness and body to the broth | Brown onion is best for depth |
| Dashi | 120 ml | The savoury backbone of the sauce | Instant dashi is acceptable if that is what you have |
| Soy sauce | 2 tbsp | Salt and umami | Use Japanese soy sauce if possible |
| Mirin | 2 tbsp | Gentle sweetness and sheen | Do not replace this with table vinegar |
| Sake | 1 tbsp | Rounds out the sauce | Dry sherry can work in a pinch |
| Sugar | 1 tsp | Balances the savoury broth | Keep it modest so the bowl does not taste cloying |
| Eggs for finishing | 3 | Creates the soft, custardy top | Beat lightly so the whites and yolks stay streaked |
| Spring onion or nori | Optional | Freshness and colour | Use a small amount only |
If I were shopping in the UK, I would prioritise proper panko, mirin, and dashi before anything decorative. I would also avoid long-grain rice here, because the bowl loses the soft cling that makes donburi satisfying. If you want to use chicken, choose thigh for juiciness or thin breast cutlets if you prefer a leaner result.
How I cook the bowl step by step
A small 20 cm frying pan or donburi pan is helpful here because the sauce stays concentrated. A wide pan works too, but it is easier to overcook the egg when the liquid spreads out too much.
- Cook the rice first. Rinse 200 g Japanese short-grain rice until the water runs mostly clear, then cook it according to the packet or rice cooker instructions. Keep it warm and covered while you finish the rest of the dish.
- Prepare the cutlets. If the pork is thick, flatten it lightly to an even thickness of about 1 to 1.5 cm. Season both sides with salt and pepper, then dust with flour, dip in the beaten egg, and coat with panko. Press the crumbs on gently so they stick without forming a heavy shell.
- Fry until golden. Shallow-fry the cutlets in neutral oil over medium heat for about 7 to 8 minutes total, turning once, until they are deeply golden and cooked through. Drain on a rack or paper towel, then rest for 2 to 3 minutes before slicing.
- Build the broth. In the same pan, pour in the dashi, soy sauce, mirin, sake, and sugar, then add the sliced onion. Simmer for 2 to 3 minutes until the onion softens and the liquid tastes balanced, not sharp.
- Add the katsu and egg. Lay the sliced cutlet over the onion, spoon some broth over the top, then pour in half the beaten eggs around the cutlet. After 15 to 20 seconds, add the rest of the egg in thin ribbons. Cover the pan for 30 to 60 seconds, just until the egg is softly set.
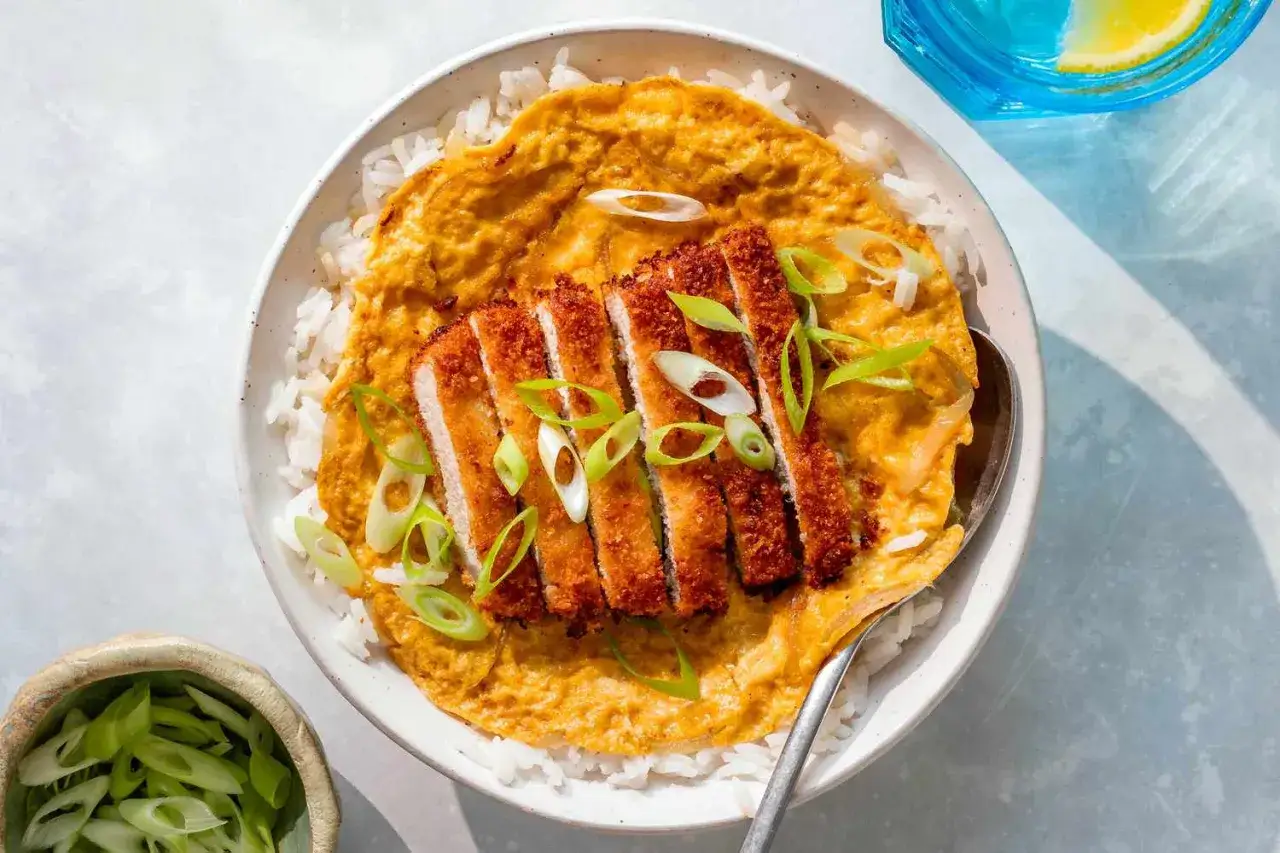
- Assemble immediately. Divide the hot rice between two bowls, slide the cutlet, onion, and egg mixture on top, then spoon over a little extra broth. Finish with spring onion or a few strips of nori if you like.
The point is to stop early. The egg should look just set at the edges and still soft in the centre, because it will continue to firm up from the heat of the rice. That small bit of restraint is what makes the bowl feel deliberate rather than messy.
How to keep the egg soft and the cutlet balanced
The biggest mistakes here are usually not dramatic. They are small, easy-to-miss choices that flatten the whole bowl.
| Problem | Likely cause | Fix |
|---|---|---|
| The egg looks scrambled | The heat was too high or the egg was stirred too much | Lower the heat and pour the egg in slowly without stirring |
| The bowl feels watery | Too much broth or a pan that is too wide | Use a shallow pool of liquid and a smaller pan if possible |
| The cutlet turns limp too fast | The katsu sat in the broth for too long | Serve immediately and do not drown the cutlet |
| The flavour tastes flat | Weak dashi or too little seasoning | Use a proper dashi base and taste the broth before adding egg |
| The crust feels greasy | Oil was not hot enough or the cutlet was not drained | Fry at medium heat, then rest the cutlet on a rack |
I also like to beat the eggs lightly rather than aggressively. Visible streaks of yolk and white are a good thing. They create a better, silkier finish than a fully homogenised mixture, and they make the top of the bowl look more natural.
- Keep the broth at a gentle simmer, not a boil.
- Slice the cutlet after a short rest so the crust stays intact.
- Do not overload the pan; one layer of onion and one cutlet per portion is enough.
- Accept a little softness in the crust. That is part of the dish, not a failure.
- If you want a crisp cutlet, serve tonkatsu separately instead of forcing it into katsudon.
Once the texture is under control, the only real question is how you want to serve it, store it, or adapt it to the ingredients you already have.
Serving notes, swaps, and make-ahead choices
I usually serve katsudon on its own, because it is already a complete meal. If I add anything, it is something light: a few pickled vegetables, a simple miso soup, or a little shredded spring onion for freshness. I would not add a heavy side dish, because the bowl is meant to feel self-contained.
For a weeknight, the best shortcut is leftover tonkatsu. Reheat it in a hot oven or air fryer for a few minutes, then finish it in the broth and egg. That keeps the dish much faster without making it taste stale. If you want a lighter version, chicken thigh cutlets work well and stay juicy; chicken breast can work too, but only if you keep the cooking time short and the slices thin.
- Make-ahead cutlet: Fry the katsu earlier in the day, cool it, and refrigerate it for up to 24 hours. Finish it in the broth just before serving.
- Make-ahead broth: The onion and seasoning base can be mixed in advance, then reheated and reduced for a minute before the egg goes in.
- Storage: The assembled bowl is best eaten right away. If you must store it, keep rice, cutlet, and broth separate.
- Bento note: For lunchboxes, I would pack the rice and katsu separately and add the eggy broth only at the last moment. That is the simplest way to avoid a soggy lunch.
- Authentic swaps: Instant dashi is fine, sushi rice is a good stand-in for Japanese short-grain rice, and spring onion is enough garnish on its own.
The version I would avoid is the one that tries to turn this into a generic fried chicken rice bowl with a lot of extra sauce. Katsudon is calmer than that. It relies on a few precise flavours, and when those are right, it does not need much else.
The version I would cook again on a weeknight
If I were making this again on a busy evening, I would keep three things non-negotiable: hot rice, a shallow but properly seasoned broth, and eggs that are still soft when they hit the bowl. Everything else can move a little. Pork can become chicken, fresh cutlet can become leftovers, and the garnish can stay minimal as long as the base tastes right.
That is why the dish works so well in home cooking. It looks simple, but the best bowls are built on restraint. Stop the cooking a little earlier than you think, serve immediately, and let the rice finish the job.