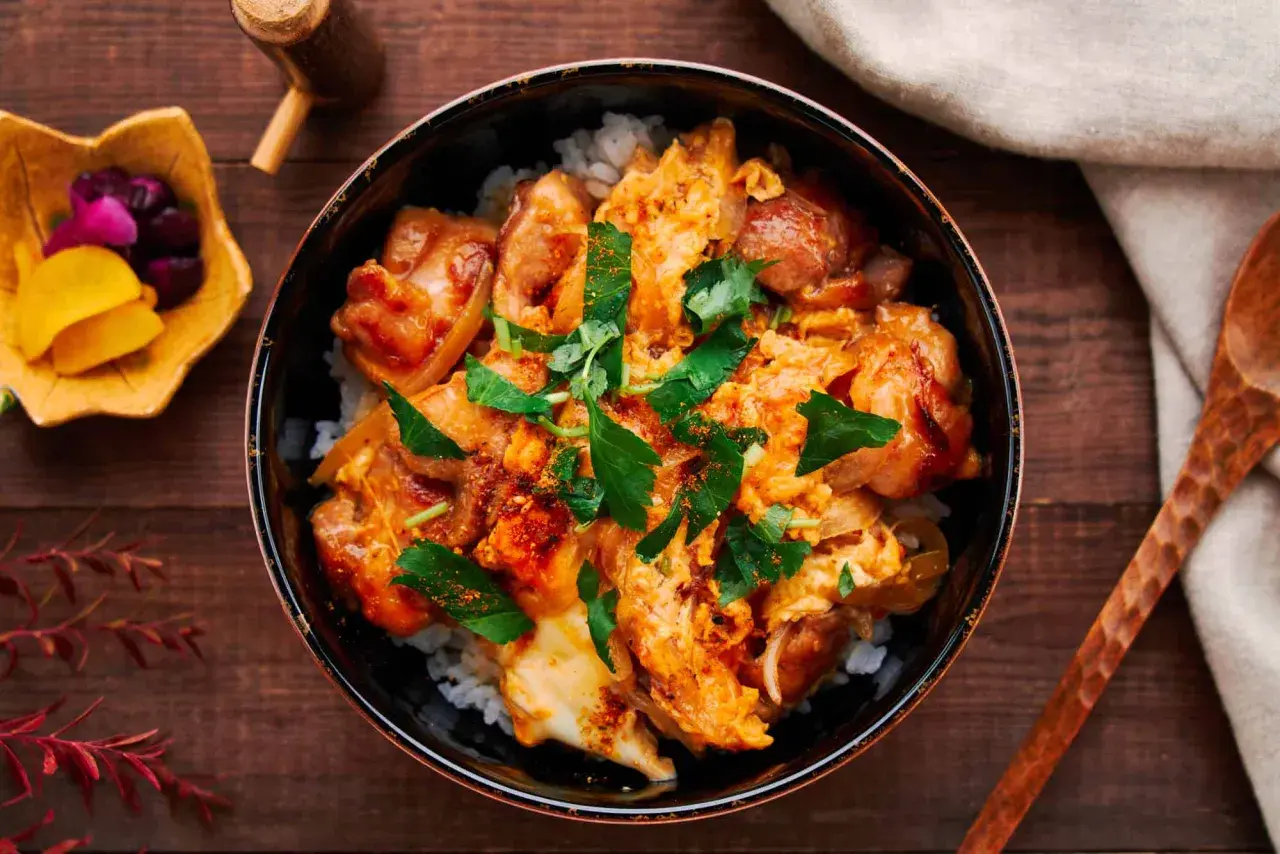
Oyakodon, sometimes written oyako donburi, is one of the easiest Japanese rice bowls to love, but it only works when the seasoning, timing, and texture are in step. I like to keep the method lean: tender chicken, softened onion, and eggs that stay glossy rather than firm. This guide shows the ingredient balance, the cooking order, and the small adjustments that make the bowl feel right at home in a UK kitchen.
The essentials at a glance
- Serves 2 and comes together in about 25 minutes.
- Chicken thighs are the safest choice if you want juicy, forgiving results.
- The sauce should be sweet-savoury, not sugary; dashi carries most of the flavour.
- Use lightly beaten eggs and stop cooking while the centre is still soft.
- Hot short-grain rice matters as much as the topping.
- For a UK kitchen, mirin, soy sauce, and instant dashi are the most practical pantry staples.
What makes this chicken and egg bowl worth making
The dish is called “parent-and-child” because it combines chicken and egg in one bowl, but that name matters less than the way the bowl eats. The rice should catch a little sauce, the chicken should stay juicy, and the egg should bind everything with a soft, barely set texture. When I cook it well, I am looking for contrast: sweet and savoury, tender and fluffy, rich but not cloying.
That is why oyakodon is so dependable as a weeknight meal. There are only a handful of moving parts, but each one has to do its job, and the recipe rewards careful heat control more than fancy technique. Once that balance makes sense, the ingredient list becomes much easier to read, which is where I go next.
Ingredients that matter and easy UK swaps
I keep the core list short, but I do not treat it casually. Chicken thighs give the bowl its juicy texture, short-grain rice gives the right surface to soak up the sauce, and dashi carries the savoury base that stops the dish from tasting like plain chicken and egg.
| Ingredient | Amount for 2 servings | Why I use it |
|---|---|---|
| Boneless chicken thighs | 300g, cut into bite-size pieces | Stays juicy and is harder to overcook |
| Onion | 1 medium, about 150g, thinly sliced | Turns sweet and soft in the simmering sauce |
| Eggs | 3 large | Gives the bowl its soft, custardy finish |
| Dashi | 120ml (1/2 cup) | Provides the savoury backbone |
| Soy sauce | 2 tbsp | Brings salt and depth |
| Mirin | 2 tbsp | Rounds the flavour without making it sugary |
| Caster sugar | 2 tsp | Sharpens the sweet-savoury balance |
| Cooked Japanese short-grain rice | 2 hot bowls | Holds the sauce better than long-grain rice |
| Spring onion or shichimi togarashi | Optional | Adds freshness or a little heat at the end |
If you want the cleanest result, buy proper mirin rather than a sweet seasoning substitute, and use dashi instead of plain water. Those two ingredients are what keep the bowl tasting distinctly Japanese rather than vaguely savoury. Chicken breast still works, but I only reach for it when I want a leaner bowl; thigh is better for first-time success.
If dashi is harder to source, instant dashi powder is the most practical compromise in the UK. It is not precious cooking, and I would rather have a well-seasoned bowl made with a sensible shortcut than a bland bowl made with the “right” technique and the wrong stock. That practical mindset is what makes the method work.
How I cook it so the egg stays silky
The method is straightforward, but the heat has to be controlled. I use a small 18-20cm frying pan so the sauce stays concentrated, and I stop cooking while the egg still looks a little underdone, because carryover heat finishes the job.
- Mix the dashi, soy sauce, mirin, and sugar in a small jug or bowl.
- Pour about one third of the sauce into the pan and add the onion. Simmer over medium heat for 4-5 minutes, until the onion has softened but still has some shape.
- Add the chicken and cook for 3-5 minutes, depending on thickness, until it is just cooked through and no longer pink.
- Lightly beat the eggs in a bowl. Pour in about two thirds of the egg first, then let it just begin to set before adding the rest. I like this two-stage approach because it gives the bowl a mix of softly set and custardy egg.
- Cover for 30-60 seconds, then take the pan off the heat while the surface still looks glossy.
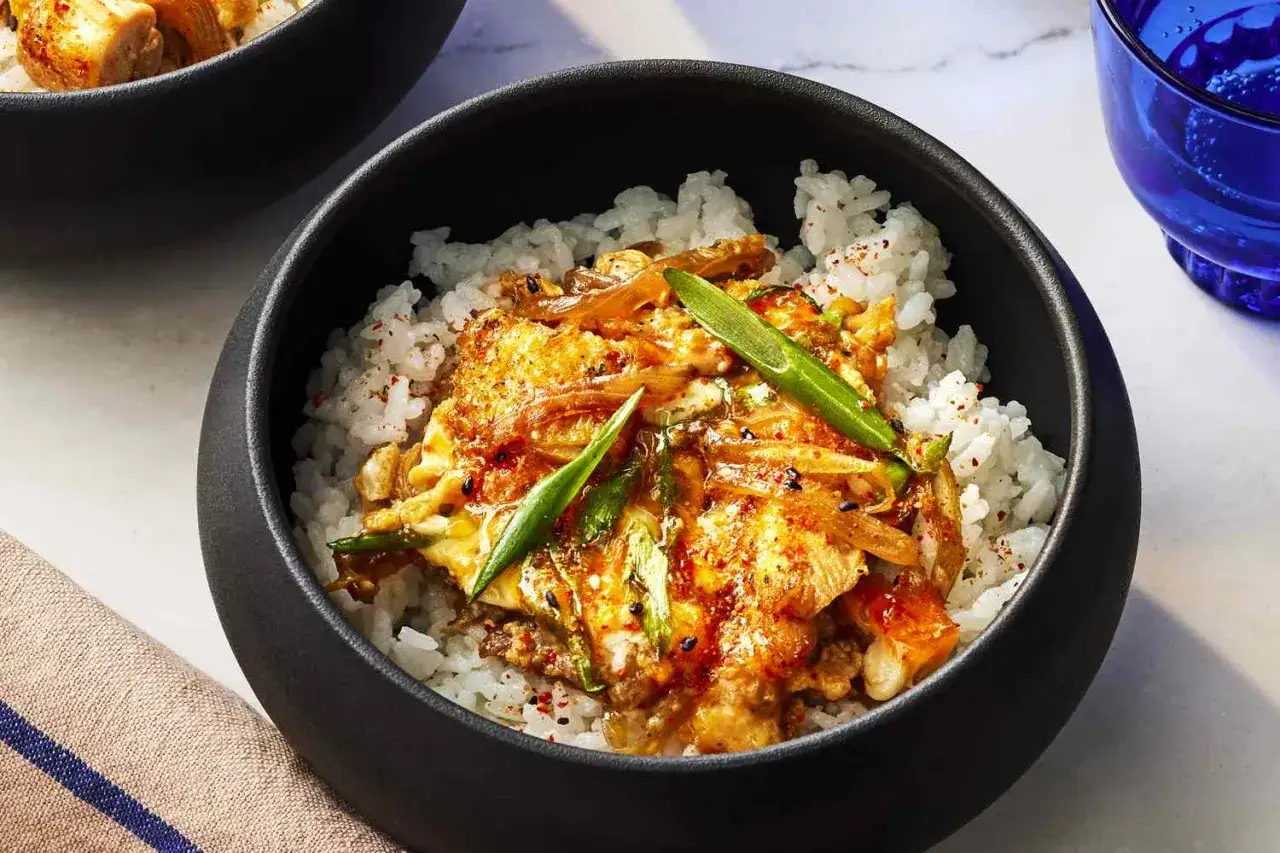
- Slide the chicken, onion, and egg over hot rice, spoon over any remaining sauce, and finish with spring onion or shichimi if you want a little lift.
A shorter lid time gives you a looser set; a slightly longer one gives a firmer top. I keep the choice intentional rather than accidental, because the difference between a just-set egg and an overcooked one is the difference between comfort and clutter. If you are doubling the recipe, cook in batches instead of crowding the pan; too much filling in one go cools the sauce and makes the egg uneven.
The mistakes that usually flatten the flavour
The biggest failures are usually not about ingredients. They come from pushing the heat too far, which dries the chicken and tightens the egg. I watch for five things in particular:
- Overbeating the eggs - A few light strokes are enough. Frothy eggs set less neatly.
- Boiling the sauce hard - A strong simmer is fine for the onion; a rolling boil makes the final egg tough.
- Using breast without shortening the cook time - Breast works, but only if you slice it thin and pull it early.
- Letting the pan go dry - Oyakodon should be saucy enough to season the rice.
- Serving lukewarm rice - The bowl feels flat if the rice has lost its heat.
When the bowl tastes a little flat, I usually add a touch more dashi or a few more drops of soy next time rather than dumping in extra sugar. That keeps the flavour clean, which is what the dish needs. Once those basics are under control, the bowl becomes much easier to adapt for different meals.
How I serve it for dinner, lunch, or a bento box
This bowl is best the moment it leaves the pan, but it is still useful in a UK weeknight rotation because it scales from solo lunch to family dinner. I usually serve it with something crisp or acidic beside it so the meal does not feel too soft all the way through.
| Situation | How I serve it | What I change |
|---|---|---|
| Dinner at home | With miso soup and quick cucumber pickles | Keep the egg soft and the sauce generous |
| Lunch | With a simple salad or steamed greens | Cook the egg slightly firmer so it holds better |
| Bento | Pack the topping separately if possible | Cool the filling first and avoid a runny centre |
If I keep leftovers, I chill the chicken-and-onion topping quickly and use it within 2 days. Rice is better cooked fresh, or reheated separately, and I warm the topping gently with a splash of water so the sauce loosens again instead of reducing into salt. For a lunchbox, I would rather pack it as components than as a fully assembled bowl.
That is also why oyako donburi is a better at-home bowl than a “make it once and forget it” meal-prep recipe. The egg texture is at its best straight from the pan, so the dish rewards timing more than storage. Once you accept that limitation, it becomes easier to enjoy the bowl for what it is.
The small adjustments I make after the first bowl
Once I have the basic bowl right, I stop chasing novelty and adjust only the edges. That usually means tiny changes to sweetness, saltiness, or garnish, not a rewrite of the recipe.
- Add a little more mirin if you want a rounder finish.
- Use a touch less soy if your dashi is already quite assertive.
- Choose chicken thigh for the first try, then test breast only if you want a leaner bowl.
- Finish with spring onion for freshness or shichimi for a gentle heat.
- Keep the rice hot and the topping glossy; those two details do most of the work.
If the rice is hot, the sauce is balanced, and the egg is still soft, oyako donburi feels complete without needing much else. That is the version I keep returning to, because it is simple, satisfying, and built on timing rather than tricks.