Making miso at home is one of those kitchen projects that looks intimidating until you break it into the right steps. A good miso paste recipe is really a fermentation method: cook soybeans until soft, combine them with koji and salt, then give the jar time to mature into a deep, savoury pantry staple. In this guide, I focus on the practical side - what matters in the ingredient list, how to pack the jar properly, and how to judge when the flavour has reached the point you want.
What matters most before the jar goes away
- Koji is essential; without it, you are not making traditional miso, just seasoned beans.
- Expect about 2 to 3 hours of active work, then 6 to 12 months of fermentation.
- The beans must be cooked until they mash easily between your fingers; anything firmer gives a rougher texture.
- Pack the jar tightly, keep air off the surface, and store it in a cool, dark place.
- Start tasting after around 6 months; leave it longer if you want a darker, stronger paste.
What homemade miso really is
Miso is more than mashed beans with salt. The important change comes from koji, which is rice or barley that has been inoculated with a fermentation culture and then allowed to do its work on the beans. Its enzymes break down starches and proteins into the savoury compounds that give miso its depth, which is why a homemade batch tastes plain at first and then gradually turns rounder, darker, and more complex.
That slow shift is exactly why home-made miso behaves differently from a jar you buy in a supermarket. If you want something immediate, shop-bought miso is the faster answer. If you want a pantry staple you can shape yourself, the long ferment is the whole point.
| Style | Typical ageing | Flavour | Best use |
|---|---|---|---|
| Young or white-style miso | About 3 to 6 months | Milder, sweeter, softer | Light soups, dressings, delicate vegetables |
| Balanced home batch | About 6 to 9 months | Rounder umami, still flexible | Everyday cooking, marinades, all-purpose seasoning |
| Dark or long-aged miso | About 10 to 12 months or more | Deeper, saltier, more robust | Glazes, braises, bold sauces |
The longer the ageing, the stronger the flavour becomes. After roughly two years, the paste can turn much darker and less sweet, which is useful in some dishes but not what I would choose for every bowl of soup. Once that flavour curve makes sense, the ingredient list becomes much easier to judge.
Ingredients and tools that make the batch work
For a dependable home batch, I keep the ingredient list deliberately simple: dried soybeans, rice koji, fine sea salt, and filtered water. The exact proportions can vary by brand and by the style you want, so I pay more attention to the structure of the batch than to chasing one rigid number. What matters is keeping the relationship between beans, koji, and salt consistent enough for a clean ferment.
| Ingredient | Why it matters | What I look for |
|---|---|---|
| Dried soybeans | They provide the body and protein for the paste | Good-quality beans that cook very soft |
| Rice koji | This is the fermentation engine | Dried or fresh koji; I would not replace it with ordinary rice |
| Fine sea salt | It protects the batch and balances the flavour | Plain sea salt without strong additives |
| Filtered water | Used for soaking and cooking the beans | Clean water with as few impurities as possible |
For tools, I keep it basic: a large bowl, a sieve, a pressure cooker or large saucepan, a potato masher or food processor, a clean cloth, and a jar or crock with a lid. I also like to have a little alcohol for wiping the container, because a clean surface gives the ferment a much better start. For a modest batch, I want a container with at least 2 to 3 cm of spare headspace so the lid never presses directly into the paste.
If you are making this in the UK, I would treat rice koji as a specialist pantry item rather than a casual substitute ingredient. If the packet gives its own ratio, follow that first, because brands vary slightly in weight and moisture. Once those pieces are in place, the method itself is straightforward.
The method I use for a reliable batch
The work is simple, but the order matters. The beans need to be soft, the mixture needs to cool before the koji goes in, and the jar needs to be packed without trapping air. That is what keeps the batch stable while it matures.
| Stage | Time | What to look for |
|---|---|---|
| Soaking the beans | 12 to 18 hours | The beans swell noticeably and become pale and plump |
| Cooking | 20 minutes under pressure or 3 to 4 hours on the hob | The beans mash easily between your fingers |
| Mixing and packing | 30 to 45 minutes | A dense paste with no obvious air pockets |
| Fermentation | 6 to 12 months | Slow darkening and a deeper savoury aroma |
1. Soak and cook the soybeans
Rinse the dried soybeans well, then cover them with plenty of water and leave them to soak for 12 to 18 hours. I never cut that short, because under-soaked beans take longer to soften and can leave the finished paste grainy.
After soaking, cook the beans until they are properly tender. A pressure cooker usually gets there in about 20 minutes once it is up to pressure, while stovetop cooking can take 3 to 4 hours at a gentle simmer. I test a bean by pressing it between my fingers; if it mashes without resistance, it is ready.
2. Cool them before adding the koji
This part is easy to rush and that is where mistakes start. The beans should be warm or at room temperature, never hot, before they meet the koji. Heat can damage the culture, so I let the beans sit until I can handle them comfortably. I also reserve a little of the cooking liquid, but I only use a spoonful or two if the paste feels too dry to come together.
3. Mix in the salt and koji evenly
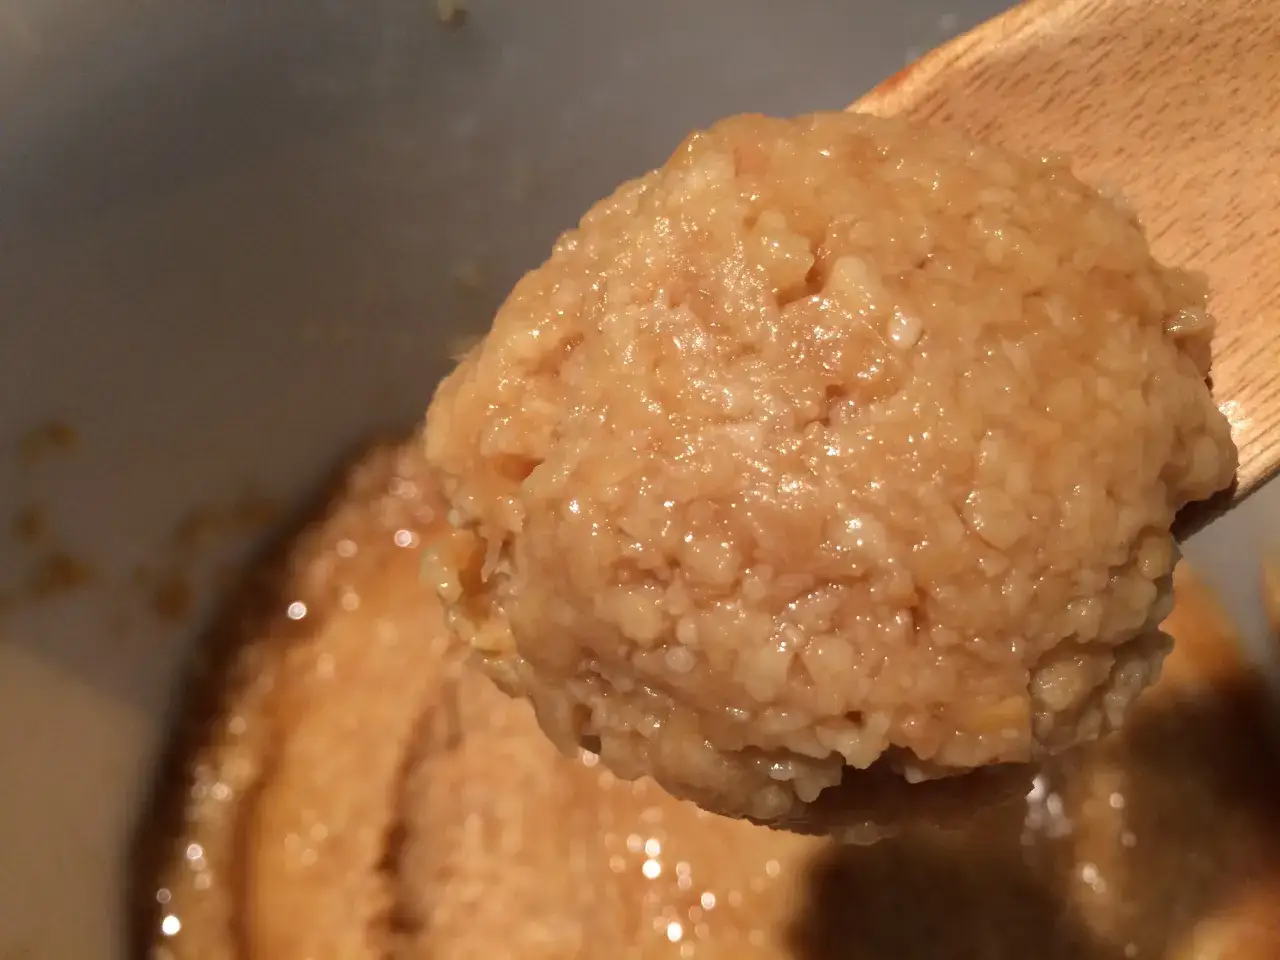
I usually combine the koji and salt first, then work the beans through by hand. A food processor can help with part of the batch, but I do not aim for a perfectly smooth puree. A little texture gives the finished miso more character, and it is easier to pack tightly when the paste has some body.
The goal here is an even mix, not speed. If the paste feels stubborn or crumbly, I add only a small amount of the reserved bean liquid. Too much water makes the batch sloppier than it needs to be.
4. Pack the jar tightly
I form the paste into balls, then throw them firmly into the jar one by one and press down after each addition. That helps drive out air pockets, which is important because exposed air is where problems usually begin. Once the surface is level, I flatten the top, sprinkle on a little extra salt, and cover it cleanly.
I also like to press the paste down hard enough that the top looks compact rather than fluffy. If you are using a cloth, wrap it neatly; if you are using a lid, make sure the jar is clean and not overcrowded. The surface should look tidy before it goes into storage.
Read Also: Dashi Powder to Water Ratio - Perfect Broth Every Time
5. Seal it and leave it alone
Once the jar is packed, I label it and move it to a cool, dark place. A pantry shelf away from the hob is usually better than a sunny windowsill, and I avoid anywhere that swings wildly in temperature. For the first few weeks, the batch may settle and harden a little on top. That is normal.
The real work now belongs to time, which is why the next question is not how to stir it, but how to store it well while it ages.
Fermentation, storage, and the signs your miso is on track
Temperature makes a bigger difference than most beginners expect. A winter-start batch often develops best over 10 to 12 months, while a summer-start batch can be ready in about 4 to 5 months. The exact timing depends on the room, the container, and how dark or strong you want the flavour to become.
| Age | What it usually tastes like | How I would use it |
|---|---|---|
| 3 to 4 months | Paler, sweeter, gentler | Light dressings, mild soups, steamed vegetables |
| 6 to 9 months | More rounded, balanced, clearly savoury | Everyday miso soup, marinades, sauces |
| 10 to 12 months | Darker, stronger, deeper | Glazes, braises, bold seasonings |
I keep the jar in a cool, dark place away from direct sun and strong heat. In practical terms, that means a cupboard or pantry shelf, not the top of the fridge or the shelf above the oven. I do not fuss with it every week either. Checking it once in a while is enough, because constant opening adds air and increases the chance of surface problems.
A few things that worry beginners are actually normal. A hard surface on day one is common, and the container can swell a little as fermentation starts. What I do watch for is fuzzy green or black mould, which I would treat as a serious warning sign rather than something to mix back in. A thin, dry white film is a different matter and often appears when the top has had a little too much air; I still remove it if I see it, then make sure the surface is better sealed.
Once the flavour gets close to where I want it, I move the jar to the fridge to slow the ageing down. That gives me more control over the final taste and stops a good batch from drifting into something stronger than I planned. From there, the miso is ready to earn its place in daily cooking.
How I use homemade miso as a pantry essential
Once the jar is ready, I treat the paste as a seasoning, not a sauce. A teaspoon can transform a soup, but it is just as useful in dressings, glazes, and bento-friendly marinades. That is what makes homemade miso worth the wait: it is not a one-off project, it is a base ingredient.
| Use | Starting amount | Why it works |
|---|---|---|
| Soup | 1 to 2 tsp per bowl | Adds depth without making the broth heavy |
| Vegetable glaze | 1 tbsp miso + 1 tbsp mirin + 1 tbsp water | Clings well to aubergine, mushrooms, or carrots |
| Dressing | 1 tsp miso + 2 tsp vinegar + 1 tbsp oil | Balances sharp greens or shredded cabbage |
| Miso butter | 1 tsp miso per 25 g butter | Excellent on toast, corn, or grilled squash |
For bento, I like it with salmon, aubergine, mushrooms, and roasted cauliflower because the flavour stays strong even when the food cools down. I also add it near the end of cooking, or I dilute it first, so the aroma stays rounded instead of turning blunt and overheated. That small habit makes a bigger difference than people expect.
If you want one simple rule for everyday use, it is this: start small, taste, then build. Homemade miso can be subtler or saltier than the commercial jar you are used to, and the right amount depends on age, colour, and how concentrated the batch turned out.
The habits that make the next jar easier
The first batch teaches you more than any perfect-looking recipe ever could. If I were only keeping three habits, they would be these: label the jar clearly, keep the surface sealed, and write down what the flavour is doing at different ages.
- Write the start date and the salt level on masking tape before the jar goes away.
- Leave at least 2 to 3 cm of headspace so the paste has room to settle.
- Taste and note the flavour at month 6, month 9, and month 12.
- Use a clean spoon every time so you do not bring extra moisture or crumbs into the jar.
- Start the next batch before the first one runs out, because good miso disappears faster than you expect.
If there is one thing I would keep from the whole process, it is patience with the first batch and consistency with the second. Once you have a tidy method, homemade miso stops feeling like a special project and starts behaving like a true pantry essential.